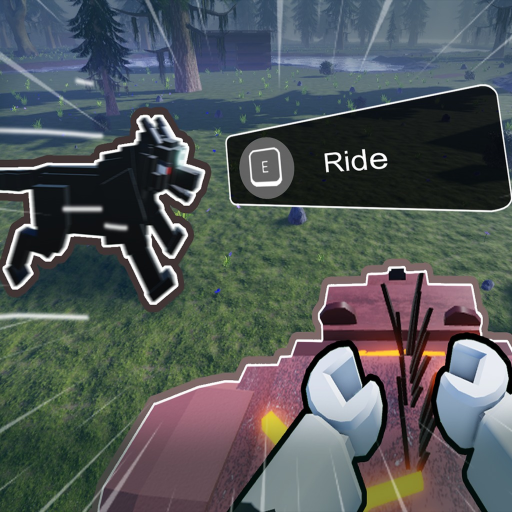
How to Tame Pets in Taming Defense
Capture creatures, assign slots, issue orders, and build a squad that survives every night.
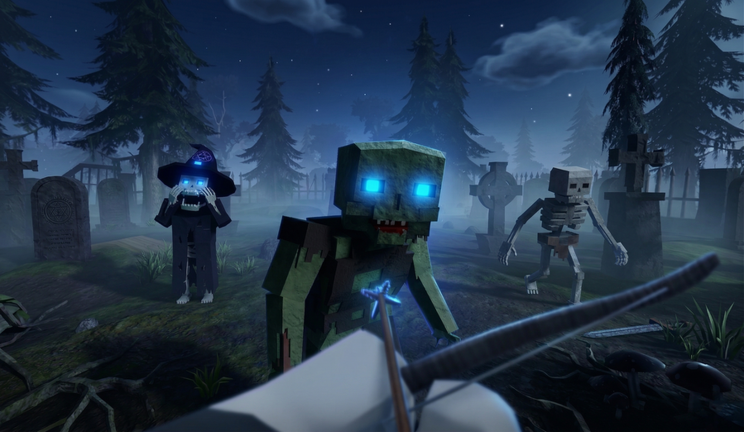
Pets are the backbone of any long Taming Defense run. While you gather materials and place walls, tamed creatures fight raiders, hold choke points, and absorb damage that would otherwise end your 365-day attempt. BaseBuddies designed taming as a core loop — not an endgame bonus — so understanding capture mechanics early separates players who reach Day 20 from those who reset on Day 6.
This guide covers finding creatures, completing tames, managing slots, and issuing orders. For keybind details see Controls and Pet Commands. For species rankings after your first squad, visit Best Pets and the Pet Tier List.
Why pets matter
Night raids escalate in damage and count as days advance. Solo players without pets spend nights repairing the same wall segment repeatedly. A single guard pet on U (Guard) frees you to craft ammo, heal, or finish a gate.
After Day 20, The Lich joins nightly hunts. Pets that were “nice to have” become mandatory front-line units. Start taming by Day 3–5 so your squad is leveled before the mid-game spike described in How to Play.
Finding tameable creatures
Wild pets spawn in biome areas beyond your starter plot. Explore during daylight when visibility is high and you can retreat to base before sunset. Lower-level creatures near spawn are ideal first targets — they require fewer resources and fail less often.
Bring food or taming items listed in the creature tooltip. If the game shows a preferred bait, use it; skipped requirements waste materials and extend the tame timer dangerously close to night.
The taming process
While exact UI labels may vary by patch, the standard flow is:
- Locate a wild pet within taming range.
- Interact with F to begin the tame sequence.
- Feed or channel according to on-screen prompts until the progress bar completes.
- Name and assign the pet to an open slot in the pet menu (G).
Failed tames usually mean wrong bait, interrupted channeling, or the creature aggroing mid-process. Clear nearby threats with M1 attacks or send an existing pet on T (Attack) before starting a new tame.
Pet slots and the hotbar
Open the pet menu with G to view owned creatures. Assign up to six active slots using 1–6 on the keyboard. These slots double as skill triggers in combat — the same keys select pets and activate abilities depending on context.
Keep a balanced roster: at least one tanky Guard pet, one damage dealer, and one flexible Follow pet for daytime gathering. Over-stacking damage pets leaves you fragile when The Lich focuses your back line.
Essential pet commands
Memorize these orders from the official control scheme:
| Key | Command | Use case |
|---|---|---|
| V | Select All | Rally entire squad |
| Q | Follow | Daytime escort and gathering |
| T | Attack | Focus fire on raiders or bosses |
| U | Guard | Hold a wall segment or gate |
| Z | Stay | Pin a pet at a sniper point |
| 1–6 | Pet Slot / Skill | Quick-select individual pets |
Deep command strategies live on Pet Commands. Practice toggling between U and T during practice nights before Day 20.
Spending Ruby on pets
Ruby from codes like !KUTCHAWANTS2PLAYZ or rare drops can unlock premium pets. Do not spend Ruby on the first creature you see. Compare stats against the Tier List and save for a mid-tier staple that scales into late game.
Gold covers food, revives, and basic tame attempts. Claim all active promo codes before buying shop pets — free currency reduces early grind.
Taming and base defense together
Pets need geometry to exploit Guard angles. A pet on U in an open field dies fast. Pair taming progress with Base Building — narrow corridors amplify tank pets and slow The Lich approach paths.
During construction, set extras on Z (Stay) at unfinished corners to spot flankers. When walls close, rotate Guard pets to the main gate each sunset.
Common mistakes
Taming too late — Starting on Day 10 leaves underleveled pets for Day 20.
All Follow, no Guard — Pets default to passive follow if you forget orders. Re-issue U every evening.
Ignoring food — Hungry pets underperform or refuse skills. Stock food when you stock wall materials.
Chasing rare spawns early — High-tier wild pets fail tames when your account lacks level or bait. Build up with commons first.
Related pages
- How to Play — when to start taming in your run
- Survive The Lich — pet roles during boss nights
- Base Building — layouts that help Guard pets
- Controls — full pet and combat keys
- Players Hub — command reference and best pets
- Guides Hub — all walkthroughs
Frequently Asked Questions
Quick answers to the most common questions.
When should I tame my first pet in Taming Defense?
Aim for Day 3 to Day 5. Early pets help with nights long before The Lich arrives on Day 20.
How do I open the pet menu in Taming Defense?
Press G to open the pet menu, assign slots with 1-6, and issue orders like Q Follow, T Attack, U Guard, and Z Stay.
What is the best pet command for night defense?
U Guard holds a position on your walls. Pair Guard pets with choke points from the base building guide for best results.
Can promo codes help with taming?
Yes. Codes grant Gold for food and supplies, and !KUTCHAWANTS2PLAYZ adds Ruby useful for premium pets on the tier list.
Where do I see which pets are strongest?
Check the Pet Tier List and Best Pets pages after taming your first squad to compare long-term value.